
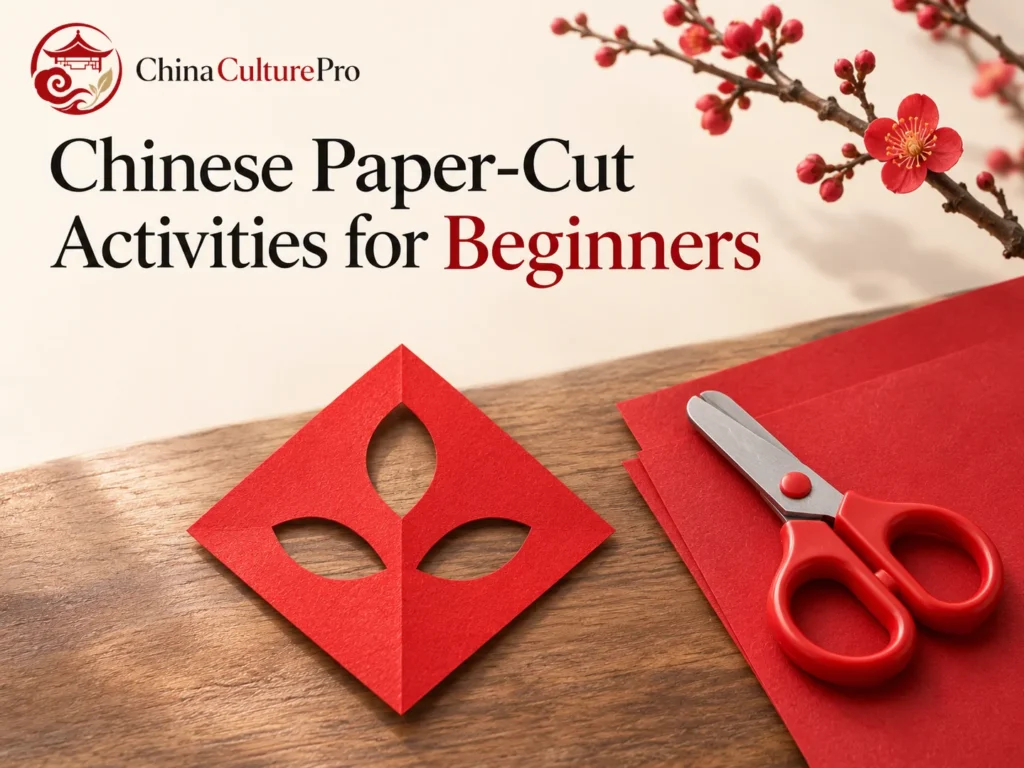

Quick Answer: What Is an Easy First Paper-Cut Activity?
To try Chinese paper cutting (剪纸, jiǎnzhǐ), fold a small sheet once and cut simple shapes along the fold. Unfold it to see how each cut opens into a symmetrical shape. Then put the cutout on two backgrounds to see how the open spaces change.[1][2][3]
- Look: Find the openings and the strips that keep the image connected.[2][3]
- Make: Keep a wide border around the first cuts so the sheet stays in one piece.[3][4]
- Compare: Put the same paper cut on a pale and a dark backing.[3]
One fold is enough to practise symmetry before adding smaller details.[3][4]

Start with a picture of a finished work. See which parts are made by the paper that remains and which are made by the spaces cut away. In the first exercise, use two openings to make that relationship easy to see.[2][3]
Look at How a Paper-Cut Design Holds Together
The Smithsonian’s paper-cutting feature introduces three generations of practitioners from Shaanxi. As you watch, choose one finished piece and look for a place where a narrow strip joins two larger areas. Then follow the outline around a cut space. You can study this relationship before trying to copy a pattern.[2]
Chinese paper cutting includes many ways of making and using cutouts. Window decorations are one example. Regional traditions also use different motifs and techniques. The folded paper activity below isolates one useful idea for beginners, mirrored shapes on either side of a fold.[1][2][3]
Make a One-Fold Window Decoration
Set out a small square of thin coloured paper, a pencil, scissors and a contrasting backing. A soft fold and thin paper make the two layers easier to cut. An adult can do the cutting for young children, who can mark the paper, unfold it and choose the backing.[3][4]
Fold and mark the openings
Fold a thin square of paper in half. On the folded edge, draw two small half-diamond shapes spaced well apart. Give the openings a wide margin so they stay away from the outside corners.[3][4]
Cut the shapes on the fold
Cut along the two sloping sides of each half-diamond, starting and finishing on the fold. Keep the paper between the two cuts and at both ends of the fold intact. Remove each small triangle as you cut it.[3][4]
Open and check the design
Unfold the sheet slowly. Each half-diamond should open into a whole diamond, with paper connecting the areas around the openings. If an opening joins the outer edge, try a smaller mark with more room around it.[3][4]
Compare the Same Cutout on Two Backgrounds
Lay the finished sheet against a pale backing and then a dark one. Look at which opening is easier to see, which edge stands out and how much the border still reads as a single shape. Try the same comparison against a bright window without attaching the paper permanently.[2][3]
For a second sample, replace one half-diamond with a shallow curved cut. Keep the fold and margins the same. When you unfold both samples, you can see what changed because of the curve and what stayed symmetrical because of the fold.[3][4]
FAQs About Beginner Chinese Paper-Cut Activities
Does Chinese paper cutting have to be red?
Red is familiar in many festive examples. Chinese paper-cutting traditions also use other colours and treatments. For practice, any thin paper that contrasts with the backing will make the shapes easy to see.[1][2][3]
Why did my paper cut fall into pieces?
The cuts may have removed the strip joining two parts. Start again with smaller openings spaced farther apart, keeping intact paper around each opening.[3][4]
Can a beginner start without cutting?
Yes. Look at a completed design and draw where the openings appear, or use a sample cut by an adult to compare the same design on light and dark backing.[2][3]
Sources
[1] UNESCO Intangible Cultural Heritage. Chinese Paper-Cut
[2] National Museum of Asian Art. Paper Cutting With Three Generations of Shaanxi Practitioners
[3] Columbia University, Asia for Educators. Paper Cutting Classroom Resource
[4] New Kowloon Women Association. Classroom Activities in Chinese Paper Cutting